Invoice Wizard
The Invoice Creator guides you through five steps to issue and send an invoice to KSeF.
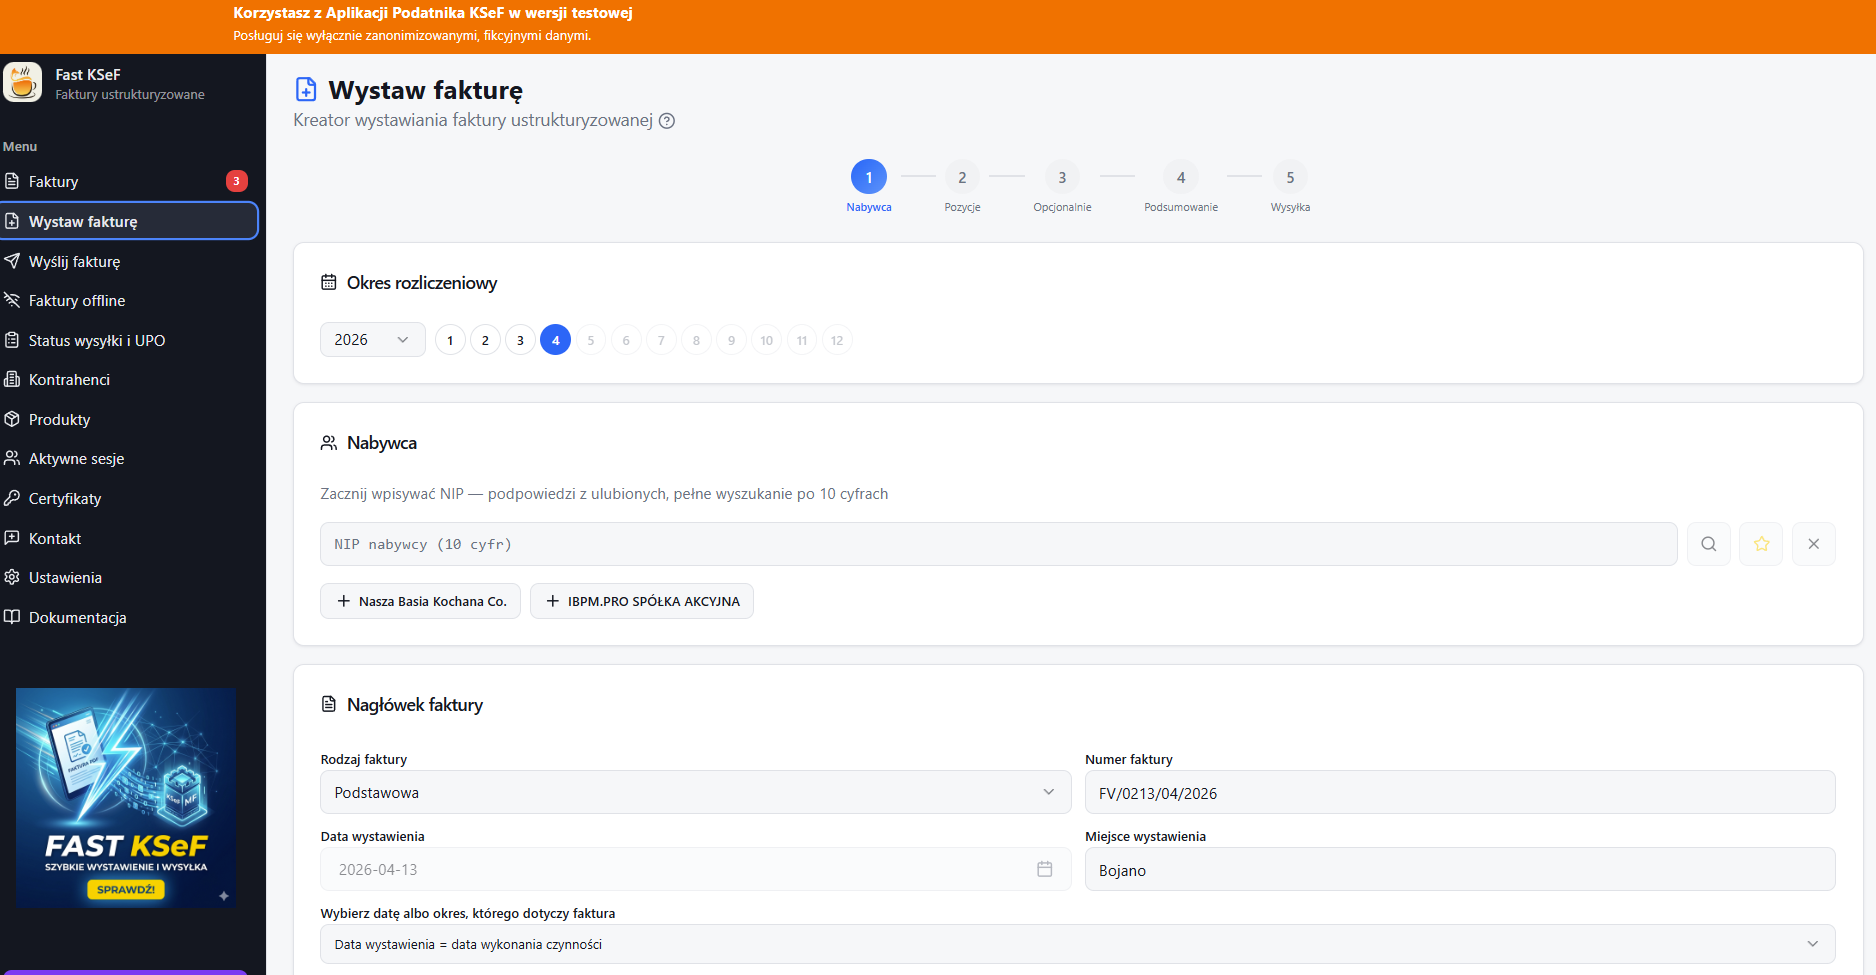
Step 1: Buyer
Fill in the buyer's (purchaser's) details:
- Buyer Tax ID (NIP) — enter the NIP or select from your favorite contractors list.
- Name — automatically populated after entering the NIP.
- Address — street, building/apartment number, postal code, city.
- Email / Phone — contact details (optional).
- Customer Number — internal buyer identifier (optional).
tip
Enter the Tax ID (NIP) and click the search button — the buyer's data will be automatically retrieved from the GUS (Central Statistical Office) register.
Step 2: Invoice Line Items
Add line items to the invoice. Details can be found in the Invoice Line Items section.
Step 3: Additional Options
Optional invoice settings:
- Invoice Type — standard, advance, or settlement.
- Split Payment Mechanism (MPP).
- Annotations — e.g., reverse charge, cash accounting method.
- Corrective Invoice — linking to a source invoice.
Step 4: Summary
Preview the complete invoice before submission:
- Verification of seller and buyer data.
- List of items with net, VAT, and gross amounts.
- Summary broken down by VAT rates.
- Preview of the generated XML file.
Step 5: Submission
Sending the invoice to KSeF. Upon successful submission, you will receive a KSeF Number — a unique identifier for the invoice within the system.
Details: Send to KSeF
Navigator in the Creator
- Back / Next buttons allow you to move between steps.
- You can return to any previous step without losing your data.
- Data is validated whenever you proceed to the next step.